How to create a Tiny Forest: Take action
The planting day is a key moment in the establishment of a Tiny Forest. It marks the transition from planning and preparation to hands-on action, when the forest is finally brought to life. No less important is the care provided in the months and years following planting, as the young trees become established. The most important steps of these phases are summarized here.
Planting the forest
The planting action not only brings the forest to life, but it also brings people together, creating a shared experience and a strong connection to the Tiny Forest from the very beginning.
Key Step
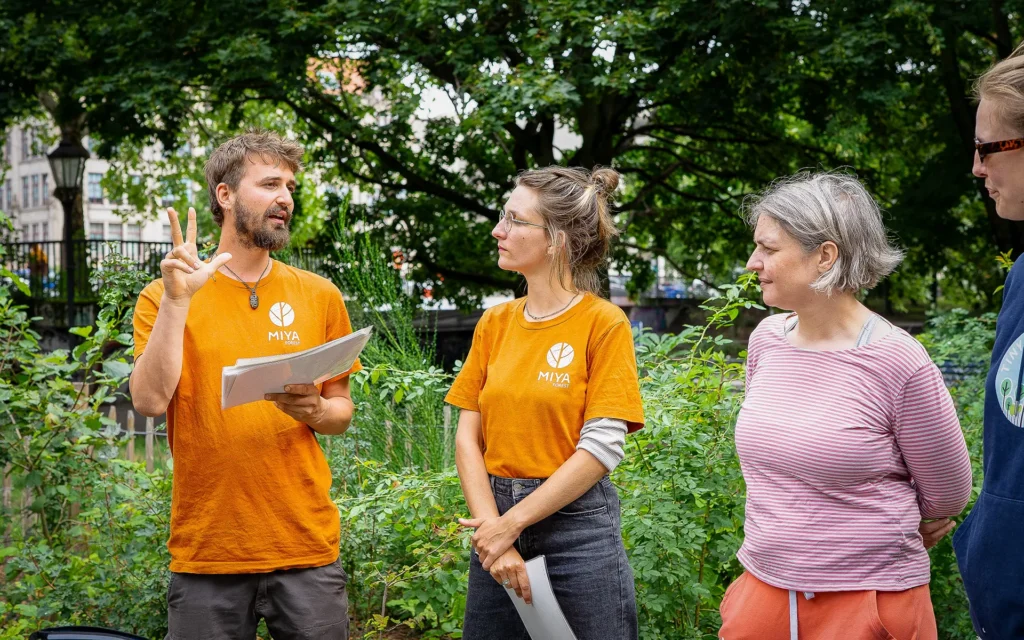
It is important to have a team of people who understand the process and feel responsible for the implementation. During the planting event, this team can guide volunteers, answer questions, and help ensure that trees are planted correctly.
Before the Planting Day
The trees and the mulch material (e.g. wood chips) should be delivered and placed close to the site at least one day before planting. Bare-root plants must be protected from drying out due to sun exposure or frost. For this purpose, it is best to cover them with jute fabric or a similar material.
Last Preparations
All tools and materials, including spades, wheelbarrows, and watering cans, should be ready by planting day. Make sure your volunteers know what to expect. Using builder’s string and wooden stakes, the area is divided into equally sized sections.
In each section, one part of the plants of each tree species is planted—for example, one-sixth, if there are six sections. This approach creates a natural, mixed planting pattern while still ensuring an even distribution of species across the entire area.
Planting event
Together with volunteers, neighbors, company employees, school classes, and other participants, a Tiny Forest is planted during a dedicated planting day. At the beginning, it is important to introduce the planting method and the correct technique for planting trees, ensuring that all work is carried out properly. Organize participants into small working groups and assign experienced coordinators to guide volunteers.

Planting Techniques
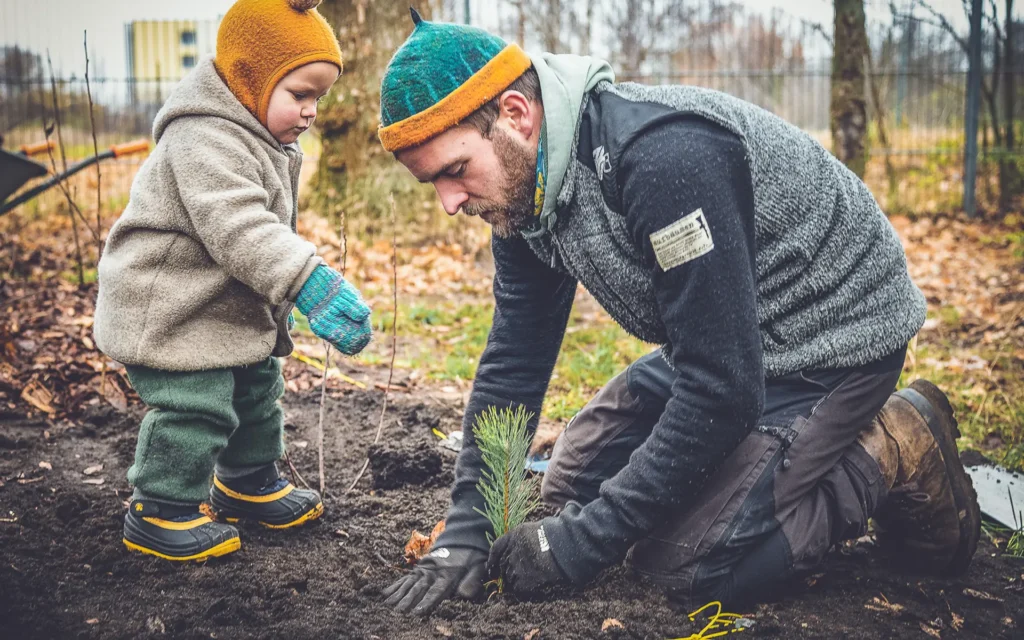
- Handle young trees carefully: Keep roots moist before planting. Avoid exposing roots to sun or wind for extended periods. Do not bend, twist, or damage roots during planting.
- Dig the planting hole correctly: The hole should be deep and wide enough so that roots fit naturally without being compressed. Loosen the soil at the bottom of the hole to support root penetration.
- Correct planting depth: Plant the tree at the same depth it grew in the nursery. Look for the old soil mark on the stem as a guide. The root collar (where stem meets roots) should be level with the soil surface. When in doubt, plant slightly too high rather than too deep.
- Firm the soil gently: Fill the hole carefully and press the soil down lightly to remove air pockets. Avoid excessive compaction.
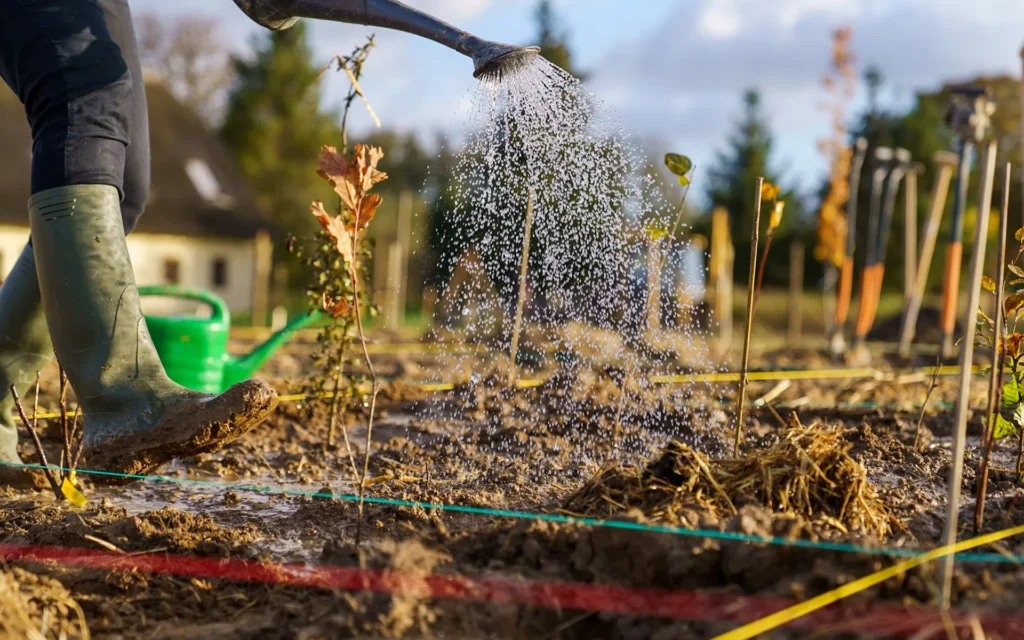
- Water immediately: Water thoroughly after planting to help the soil settle around the roots and reduce transplant stress.
- Add the mulching layer: Suitable mulch materials may include wood chips, shredded branches, straw (if locally appropriate) or leaf litter. The mulch layer should generally be 5–10 cm thick. Keep a small gap around the stem of each tree to prevent rot and fungal problems.
Caring for the Forest
Planting a Tiny Forest is only the beginning. During the first three to five years, young trees need regular care to establish strong roots, outcompete surrounding vegetation, and adapt to local conditions. Clear responsibilities should be defined regarding who decides when watering is needed and who organizes access to water.
Protection
Wildlife, pets, recreational activities, or unintentional human disturbance can damage stems, roots, or soil structure. Depending on the risks, protection can include wildlife fencing, wooden fences, sone borders or only visual boundaries. If a fence is needed, it should ideally be installed before the planting day.
Watering
A simple indicator of water stress is when leaves begin to dry out, curl, or hang limp. These are signs that the forest may need support.
Watering should support natural development—not replace it. Watering too frequently can keep the soil constantly moist and discourage trees from rooting deeper undermining their ability to adapt to drier conditions. Water only during the growing season and during longer-than-usual dry periods. Water deeply and thoroughly, rather than small amounts every day.
Weed Control
Remove strong competing vegetationapproximately 2–3 times per year. Focus on the immediate area around youngtrees, especially during the growing season. Leave the weed where you pulled it, so the nutrients say within the ecosystem. If needed, add fresh mulch.
Long-Term Maintenance
Once the Tiny Forest is established, maintenance requirements drop significantly. From approximately five years onwards, occasional checks may be needed to see whether branches are growing over pathways or roads, or too close to buildings or infrastructure. If necessary, trees can be carefully pruned to maintain safety and accessibility. Apart from these occasional checks, Tiny Forests are extremely low-maintenance ecosystems.
Monitoring the Forest
Monitoring helps to understand how biodiversity is changing after planting the Tiny Forest. It also helps identify problems early and shows whether measures need to be taken. The key is consistency: Repeat the surveys several times each year using the same method each time.
Tracking Tree Survival and Growth
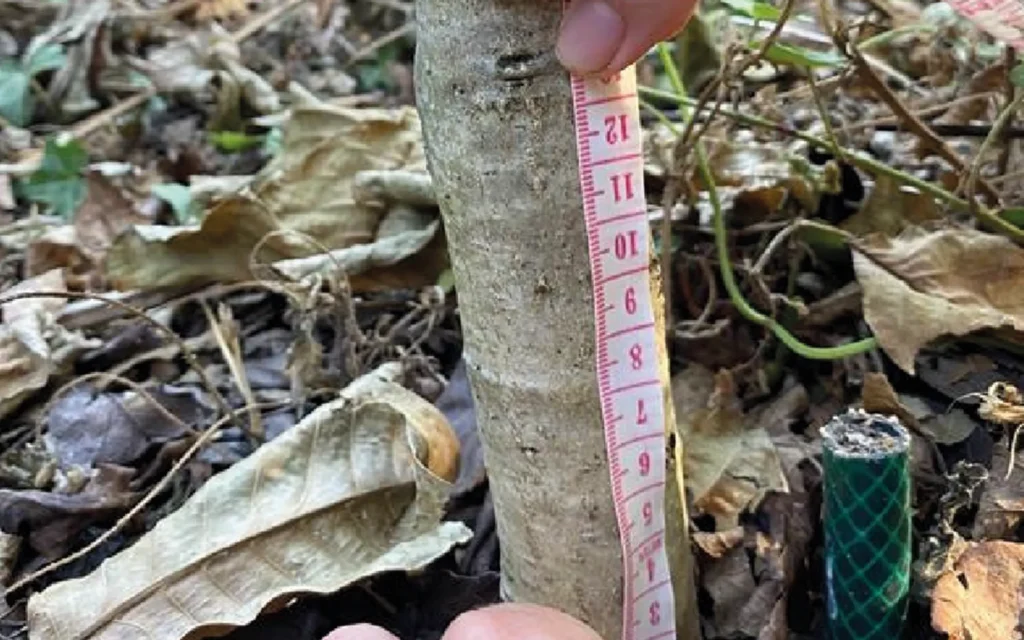
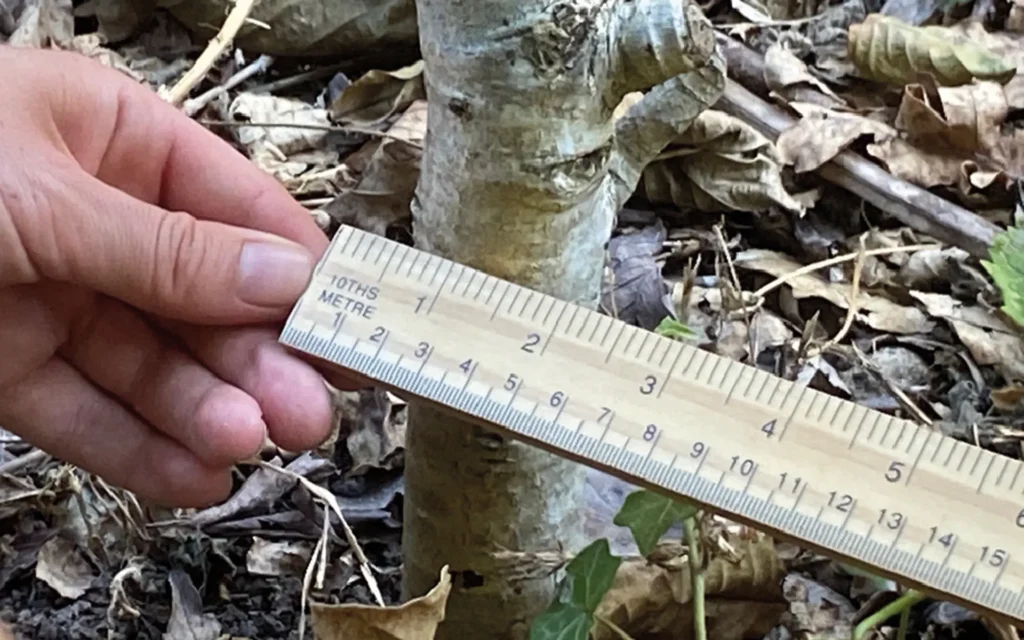
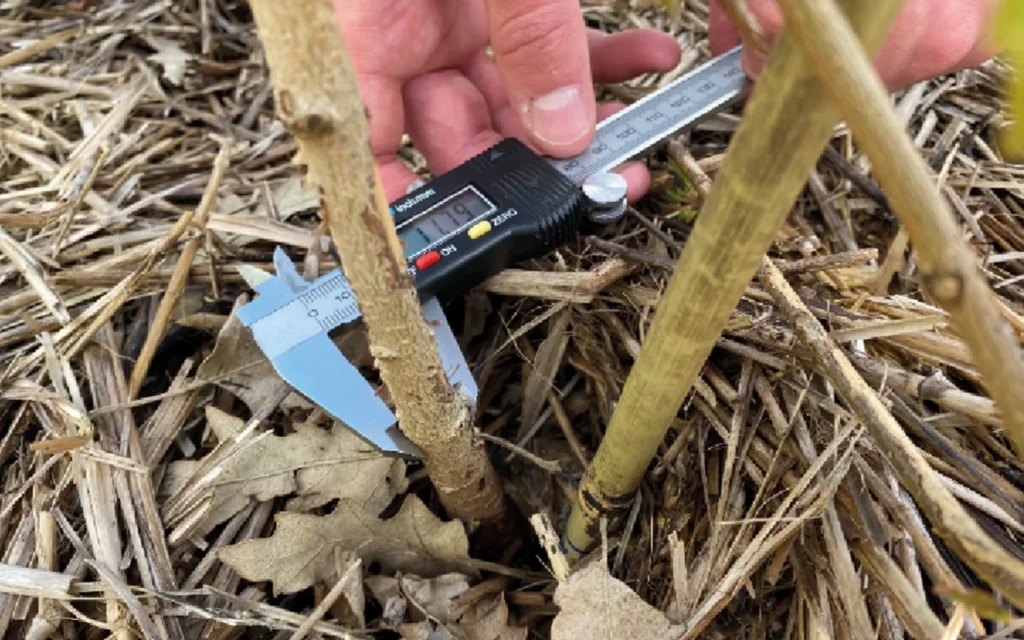
Count and identify 50–100 trees and shrubs (at least 2.5 centimeters in diameter) that are growing inside the forest. Record the species, diameter, and condition (alive or dead) of each tree on the data sheet.
Biodiversity Survey
- Flower-Insect timed count: Select a 50 × 50 cm patch containing flowering plants. Choose one type of flower to observe. Watch the flowers for 10 minutes without disturbing visiting insects. Count every insect that lands on the flowers. Record insects by species or morphological group (for example, bumblebees, honeybees, solitary bees, hoverflies, butterflies, moths, wasps, beetles). Record the date, weather conditions, the flower species being observed, and the observer.
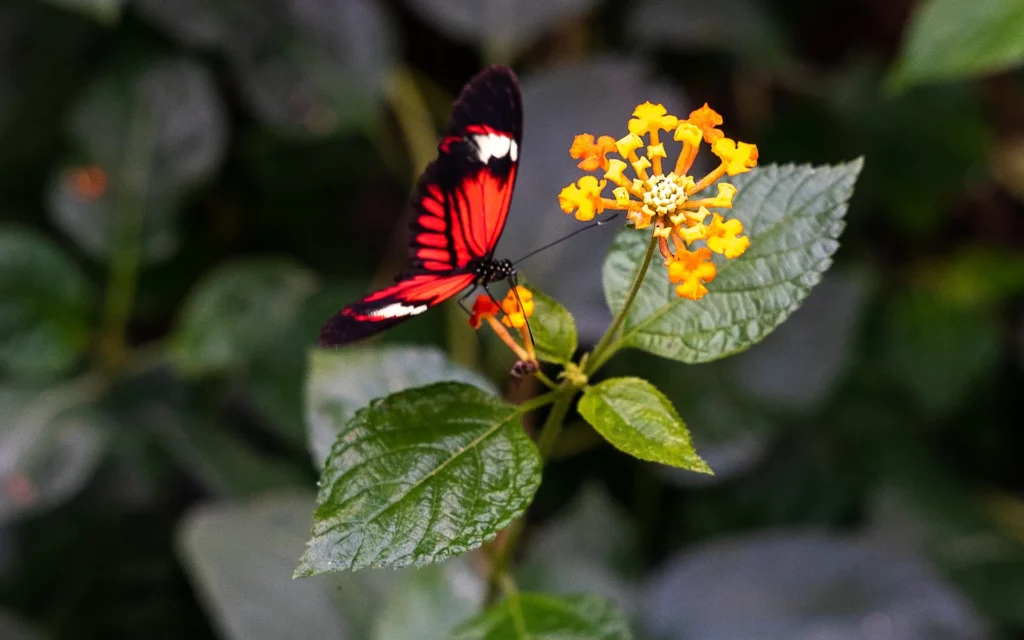
- Butterflies timed count: Select a location inside the Tiny Forest where most of the forest is visible. Observe it for 15 minutes without disturbing the butterflies. Identify and record each butterfly species observed. If you cannot identify a butterfly in the field, take a photograph and identify it later using an identification app such as iNaturalist or a field guide. For each species, record the maximum number of individuals seen at the same time to avoid counting the same butterfly more than once. Record the date, weather conditions, and the observer.
Soil Organisms
Select a 50 × 50 cm patch within the Tiny Forest, avoid paths or edges. Mix water with mustard (1 large tablespoon of mustard per 1.5 liter bottle of water). Slowly pour the mustard solution evenly over the survey area. Wait for earthworms to emerge over the next 5–10 minutes. Count all earthworms that appear and, if possible, separate adults from juveniles. Rinse the earthworms with clean water and gently return them to the soil. Record the number of earthworms, date, and soil conditions (e.g. moist, dry, or waterlogged).
Infiltration Rate and Moisture
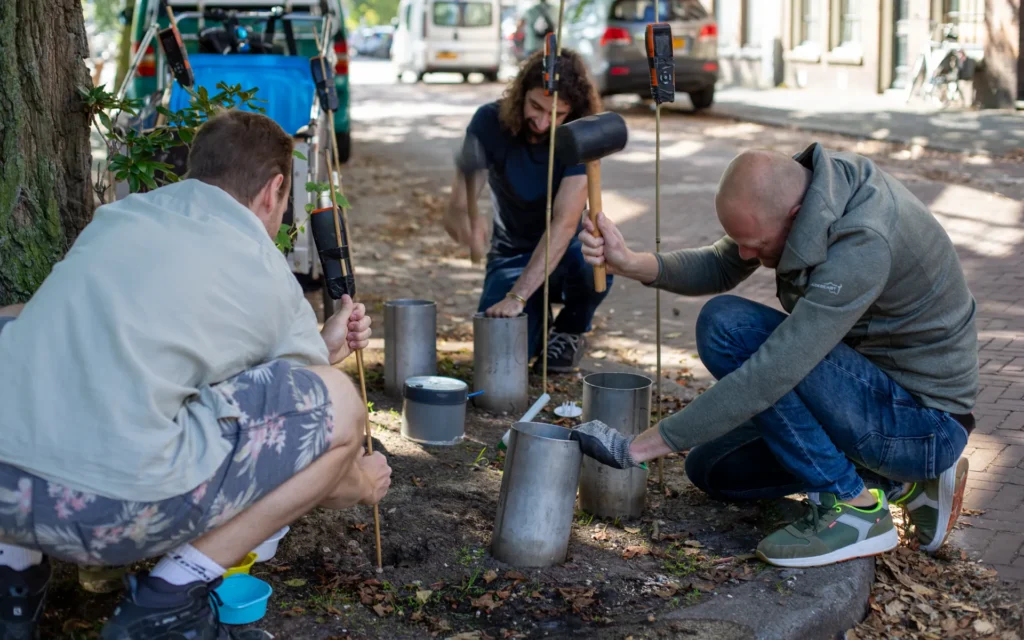
Select a location within the Tiny Forest away from any path or edge. Move aside the top layer (mulch, leaf litter, loose vegetation) to expose the soil underneath. Insert a bottomless rigid cylinder—e.g. a large food can or a piece of PVC pipe—vertically into the soil to a depth of approximately 5–7.5 cm. Record whether the soil is dry, wet, saturated, or run-off. Measure 450 ml of water and pour it into the can. Start a timer immediately and stop it when all the water has been absorbed. Record the time in minutes and seconds taken for all the water to infiltrate. If all the water is not soaked into the soil after 10 minutes, stop the timer and measure the depth of the remaining water in the can with a rule. If all the water is soaked into the soil within 10 minutes, repeat the step once more using another 450 ml of water. Record the second infiltration time. Remove the can and cover the soil back over.
Share your Data
The monitoring becomes even more valuable when data are shared because reporting results helps track changes in the Tiny Forest and allows volunteers and researchers to learn from the data collected. You can share your results on online citizen science and biodiversity platforms like iNaturalist, eBird, or Observation.org or by writing an e-mail to tinyforests@stihl.com.